Freshwater Shrimp Tank Setup: A Step-by-Step Guide
A successful shrimp tank setup starts with choosing the shrimp, understanding their water requirements and preparing an aquarium that can support them. Equipment, plants and attractive hardscape matter, but the most important work happens before the animals arrive.
An aquarium is ready when it can process an appropriate waste input, its water conditions suit the intended shrimp, and its equipment and habitat are functioning reliably. Clear water, a bottle of bacteria or several weeks on the calendar cannot establish that readiness on their own.
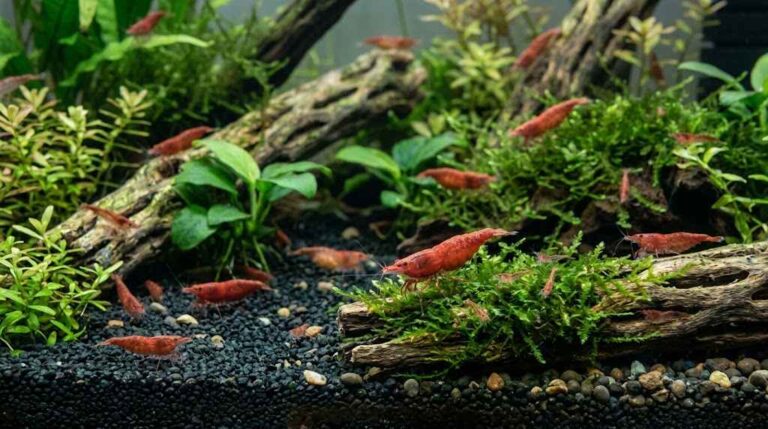
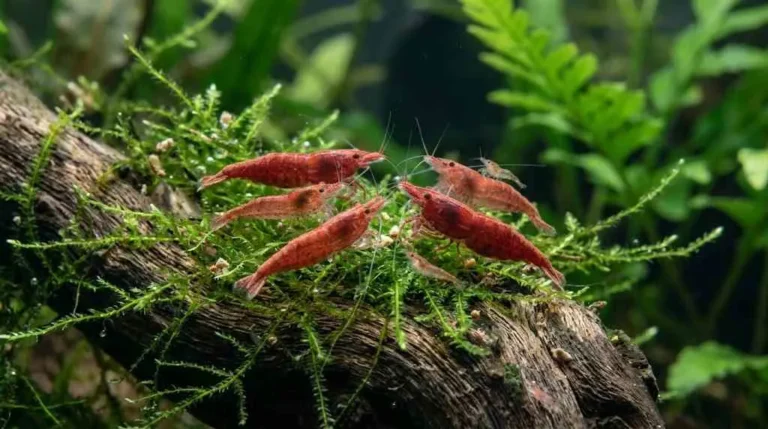
This guide uses a planted aquarium for cherry shrimp, Neocaridina davidi, as its practical example. Follow the shared setup sequence, then adjust species-specific decisions before buying equipment or livestock.
Table of Contents
Step 1: Choose the shrimp before choosing the setup
Decide which shrimp you intend to keep and investigate their temperature, water chemistry, feeding and adult-size requirements.
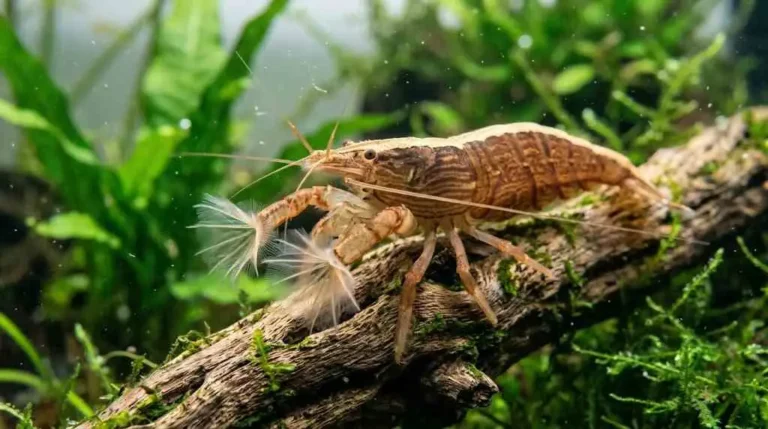
Cherry shrimp provide a useful example because their setup can often use suitable treated tap water and an inert substrate. That does not make every household’s tap water appropriate, or make the same arrangement suitable for crystal red shrimp, filter-feeding shrimp or every other freshwater species.
Before purchasing anything, write down:
- The shrimp’s identity and expected adult size.
- The intended temperature, pH, general hardness and carbonate hardness.
- Whether your source water can reliably provide those conditions.
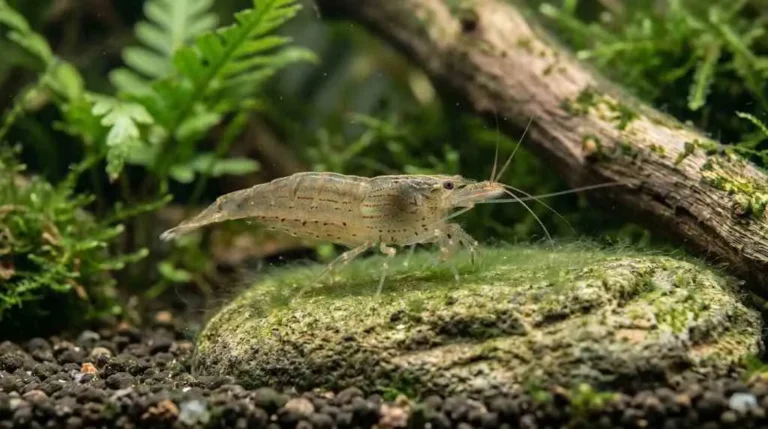
- Whether you want a dedicated colony or an aquarium with other animals.
Ask the supplier about the conditions in which its shrimp are currently maintained. Use that information alongside species guidance rather than treating the supplier’s numbers as universal requirements.
For the cherry shrimp example, a routine temperature around 22–24°C (72–75°F) is a reasonable planning point. Whether maintaining it requires a heater depends on actual aquarium temperatures in your home.
Step 2: Choose the tank size and location
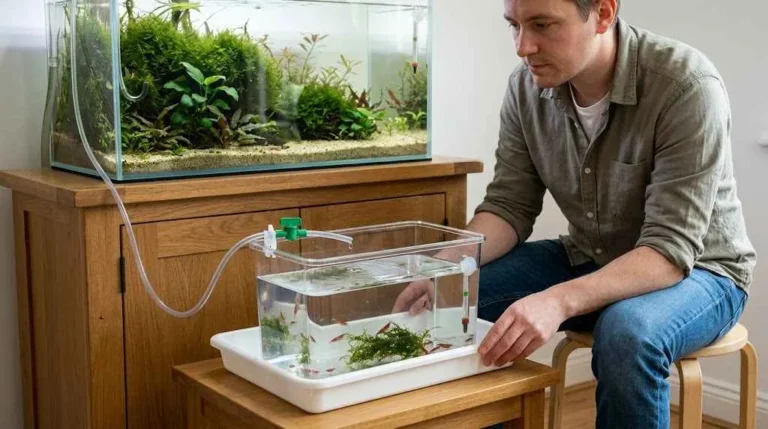
Both a 5 gallon shrimp tank, approximately 18.9 liters, and a 10 gallon shrimp tank, approximately 37.9 liters, can be considered for a dedicated cherry shrimp setup. These are options to evaluate, not universal minimums or promises about stocking capacity.
| Planning consideration | 5 US gallons / 18.9 liters | 10 US gallons / 37.9 liters |
|---|---|---|
| Footprint | Fits a smaller space; check actual dimensions | Requires more room and suitable support |
| Plants and equipment | Filter and hardscape occupy a larger share of the available space | More flexibility for planting, shelter and equipment access |
| Water stability | A given spill, dosing error or evaporation loss affects a larger proportion of the water | More water provides greater dilution for the same small error |
| Maintenance | Compact, but crowded layouts can make cleaning awkward | Usually easier to leave accessible feeding and cleaning areas |
| Population growth | Less flexibility as the colony develops | More room to plan for growth, without guaranteeing a particular capacity |
| Stocking decisions | Depend on habitat, filtration, feeding and maintenance | Depend on the same factors; capacity does not automatically double |
If space and budget allow, the larger option gives a beginner more room to arrange equipment and maintain access. A smaller aquarium still needs the complete preparation process.
Nominal capacity is not actual water volume. Substrate, wood, rocks and the space above the waterline reduce the amount held. Record the water added during filling so later product doses are based on a useful estimate.
Plan eventual population management with how to assess your tank’s shrimp capacity
Place the aquarium on a level, stable support suitable for its filled weight and construction. Follow its manufacturer’s support requirements. Leave access for equipment, buckets and electrical connections, and avoid direct sunlight, radiators and strong drafts. Use drip loops on electrical cords.
Step 3: Gather the essential equipment
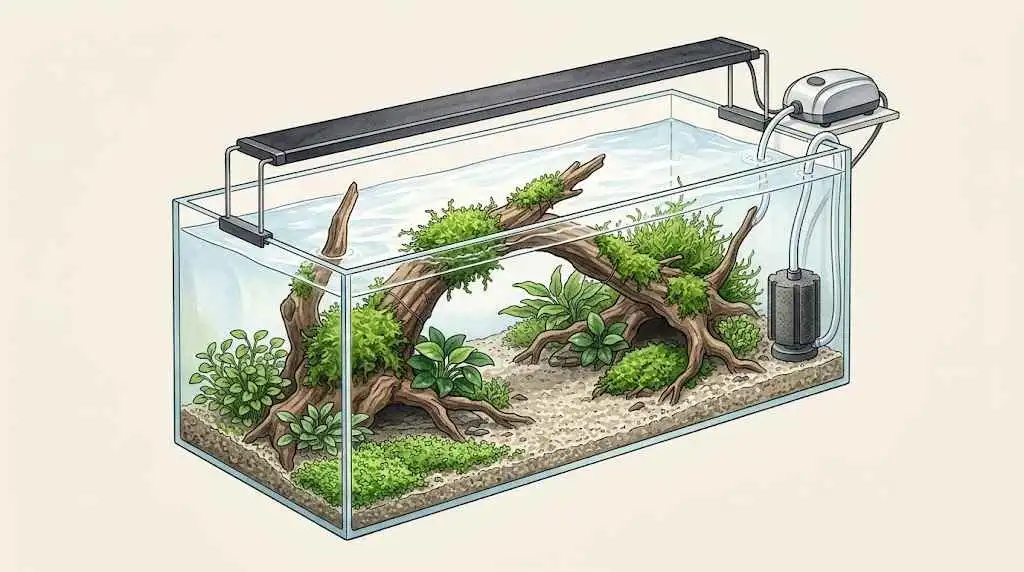
Buy equipment for its function rather than because it appears in a ready-made shopping bundle.
- Aquarium and suitable support: Provide secure housing and enough working space.
- Filter with protected intake: Provides biological filtration and circulation while limiting access to suction openings.
- Lighting: Supports the selected plants and allows observation.
- Thermometer: Shows the actual water temperature.
- Heating or cooling, if needed: Keeps conditions appropriate through seasonal changes.
- Water-treatment supplies: Address disinfectants or other identified source-water needs.
- Water tests: Include ammonia, nitrite, nitrate, pH, general hardness and carbonate hardness.
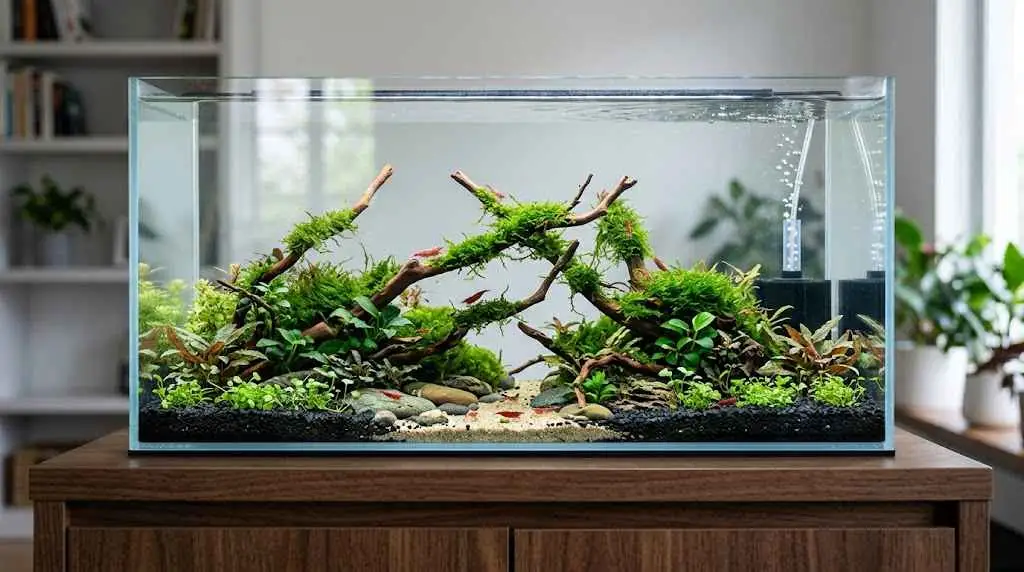
- Substrate and stable hardscape: Support the intended layout and water conditions.
- Plants and shelter: Provide cover and additional surfaces to explore and graze.
- Dedicated maintenance tools: Include a bucket, siphon, suitable net and tools for removing leftovers.
A sponge filter is one practical choice for the cherry shrimp example. It needs the appropriate air supply and fittings. Other filters can work, but their intakes need protection suitable for the smallest shrimp you expect to keep.
Check that guards fit without gaps and remain accessible for cleaning. Fine protection can clog, reducing circulation.
See sponge filters and protected filter intakes — Filters for Shrimp Tanks: Sponge Filters and Intake Safety.
A feeding dish and light timer can make routines easier. A heater, reverse-osmosis unit or injected CO₂ system is not automatically necessary; each should answer a specific need.
Step 4: Choose substrate and plan the layout
Choose the substrate after assessing the shrimp and source water.
For the cherry shrimp example, aquarium sand or fine gravel confirmed to be chemically inert can simplify planning. Do not assume that every product sold as gravel is inert: composition matters.
Active soils can deliberately alter water chemistry. For example, some shrimp soils lower pH and carbonate hardness and are marketed for shrimp requiring softer, more acidic conditions. That function may be useful in a planned specialist setup but unnecessary or counterproductive in another aquarium.
Startup behavior also varies. Some nutrient-rich substrate systems introduce ammonium and subsequently nitrite during establishment. Read the particular product’s instructions before choosing a cycling approach.
For a manageable layout, leave:
- An open feeding area where leftovers are visible.
- Planted or sheltered areas away from direct flow.
- Clearance around the filter.
- Enough space to use a siphon without dismantling the aquarium.
Arrange heavy pieces securely. Avoid balancing rocks or wood in ways that could collapse during cleaning.
Compare active soil with inert sand and gravel — Shrimp Tank Substrate: Active Soil or Inert Sand and Gravel?] before committing to a substrate.
Step 5: Prepare plants and hardscape
Inspect new materials before adding them. Remove damaged plant tissue, packaging and unwanted hitchhikers, and prepare each plant according to its grower’s instructions.
Potted plants generally need their pots removed and as much growing wool as practical taken away without excessive root damage. Tissue-culture plants need their growing medium rinsed off. Tropica provides separate preparation guidance for its potted plants and tissue-culture plants.
Ask how plants were grown and whether they received treatments relevant to shrimp. A quick rinse is not proof that an unknown chemical residue has been removed. Avoid applying a general chemical dip without checking its suitability for the plant, concentration and subsequent handling.
A planted shrimp tank should offer accessible surfaces, not just a dense green backdrop. Combine manageable plants with open areas so you can observe feeding and reach equipment.
Follow substrate instructions too: some materials need rinsing, while certain aquasoils should remain unwashed. Fill gently to avoid disturbing the layout.
For plant choices, use plants that provide shrimp cover and grazing surfaces
Step 6: Prepare the water and run the equipment
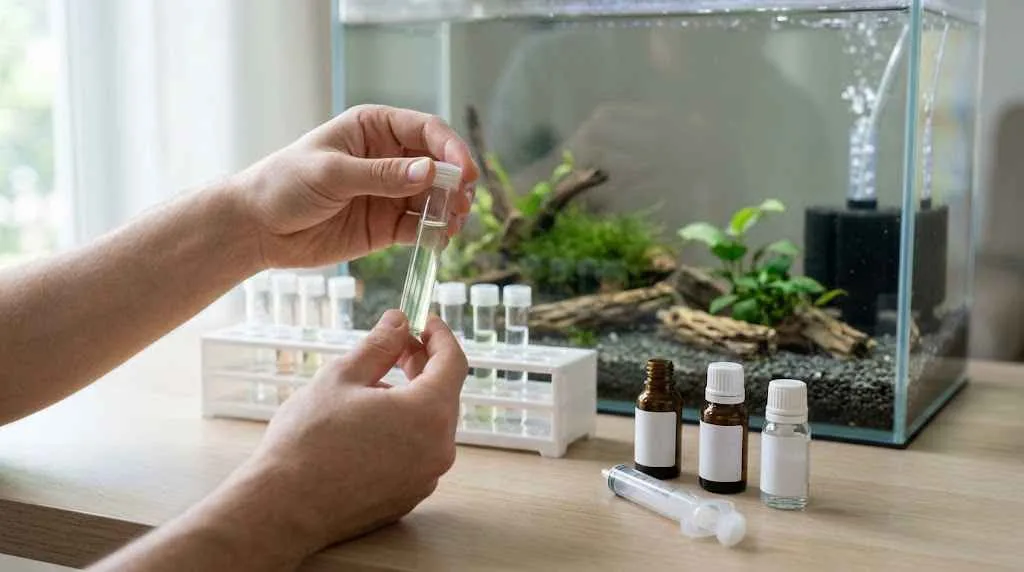
Test the source water before treating it as suitable for shrimp. General hardness, carbonate hardness and pH help you assess whether it matches your intended setup.
If the supply contains chlorine or chloramine, use a conditioner labeled for the disinfectant present and follow its directions. Removing these disinfectants protects livestock and biological filtration. It does not, by itself, correct unsuitable hardness.
If your water needs substantial preparation, settle on a repeatable method before stocking. Avoid experimenting with mineral doses or water mixtures after shrimp arrive.
Once filled, run the equipment according to its instructions and check:
- Seams and connections for leaks.
- Filter operation and unobstructed circulation.
- Intake protection.
- Surface movement for gas exchange.
- Temperature at different times of day.
- Access for routine maintenance.
Use these observations to decide whether heating, cooling or an adjustment to circulation is needed. A filter should move water effectively without leaving the intended inhabitants struggling in the flow.
Step 7: Cycle the shrimp tank without animals
Cycling a shrimp tank establishes biological waste processing. During nitrification, microorganisms oxidize ammonia to nitrite and then nitrate. The filter provides useful colonization surfaces with flowing, oxygenated water, although these organisms also live elsewhere in the aquarium.
Do this before adding shrimp, fish or snails.
Use a measured ammonia source
For the inert-substrate example, use an aquarium ammonium-chloride product with a stated concentration. This provides a measurable input without relying on unpredictable food decomposition.
The following method uses an initial target of approximately 2 mg/L total ammonia nitrogen, expressed as nitrogen—2 mg/L TAN-N. This is a fishless-cycling challenge, not an acceptable concentration for livestock.
Check the product and test-kit units. Total ammonia reported “as nitrogen” is not numerically interchangeable with ammonia reported “as NH₃.” A free-ammonia-only test is also unsuitable for tracking this total-ammonia target. Manufacturer documentation specifies the nitrogen basis for the selected approach
Dose, measure and confirm processing
- Take baseline readings. Record ammonia, nitrite, nitrate and pH. Investigate existing ammonia before adding more.
- Calculate the initial dose. Use actual water volume and the product’s stated concentration to target approximately 2 mg/L TAN-N. Let it mix, then test.
- Record progress daily. Measure ammonia and nitrite, noting doses and water changes. Do not repeatedly add ammonia to chase an exact color-chart reading.
- Wait for both readings to become undetectable. Falling ammonia with remaining nitrite means the process is incomplete. Avoid stacking full doses while nitrite accumulates.
- Repeat the measured challenge. Add enough to produce the same approximately 2 mg/L TAN-N input. Confirm that both ammonia and nitrite return to undetectable readings within 24 hours.
The dose and processing benchmark follow the principles of DrTim’s fishless-cycling guide; delaying repeat doses until both readings clear is a cautious way to avoid accumulation. Its quick guide also emphasizes that daily ammonia additions are unnecessary.
If progress stalls, check test technique, equipment, pH, carbonate hardness and possible overdosing. Do not blindly raise pH in an aquarium deliberately prepared for acidic-water species.
Bottled nitrifying bacteria can provide a starting population, but do not replace the waste source or testing. Never use an ammonia-dosing product in an aquarium containing animals
A planted aquarium may show little nitrate because plants consume nitrogen. Therefore, detectable nitrate is not a compulsory final result. Dose processing demonstrates the capacity of the operating aquarium as a whole; it does not isolate the filter’s contribution.
Before stocking, stop ammonia dosing, complete any necessary water changes and reconfirm appropriate conditions.
Step 8: Assess maturation and readiness
Waste processing and habitat development are related but different.
A recently cycled aquarium may have little established grazing material. Conversely, visible algae or a coating on wood cannot prove that ammonia and nitrite are being processed adequately.
Allow plants to settle and underwater surfaces to develop while maintaining the operating system. Plan supplementary feeding rather than assuming visible growth provides a complete diet.
Use this readiness checklist:
- Processing demonstrated: A known ammonia input cleared, with no detectable nitrite remaining.
- Current readings suitable: Ammonia and nitrite are undetectable; nitrate is appropriate for the intended shrimp.
- Species conditions checked: Temperature, pH and hardness suit the animals.
- Equipment dependable: Filtration, intake protection and temperature management work consistently.
- Habitat usable: Shelter, grazing surfaces and an accessible feeding area are present.
- Introduction prepared: Necessary maintenance is complete, with food and suitable replacement water available.
- Monitoring arranged: You can observe and test after stocking.
If stocking is delayed, keep the equipment running, maintain the fishless system according to the cycling product’s guidance and reconfirm processing before introducing animals.
Do not place an order simply because a planned collection date has arrived.
Step 9: Introduce the first shrimp carefully
Choose the initial group around species needs, available habitat and your monitoring capacity. Aquarium volume alone does not produce a reliable starting number.
Hypothetical example: Someone setting up a tank for five cherry shrimp still needs filtration, established waste processing, suitable water and a feeding plan. A small starting group reduces the initial waste load; it does not remove preparation requirements or guarantee that the population will stay at five.
Before arrival, obtain useful information about the supplier’s water. Compare arrival conditions with the aquarium, including temperature and relevant chemistry.
Acclimation should respond to those differences and the condition of the transport water. A single prescribed duration cannot account for every purchase or shipment.
Use the step-by-step shrimp acclimation guide for the transfer procedure.
After introduction, allow the shrimp access to shelter and observe without repeatedly disturbing the layout. Avoid adding other livestock at the same time, which would make changes harder to interpret.
Step 10: Manage the first weeks through observation
Begin with modest, observable portions of suitable shrimp food. Watch whether the shrimp reach it and whether leftovers remain. Adjust subsequent portions to the colony and the aquarium’s existing food supply.
Grazing is normal, but it does not prove that nutritional needs are fully met. Likewise, uneaten food should prompt a review of portion size and access rather than another automatic feeding.
Check temperature, filter operation and shrimp behavior daily during the settling period. Test ammonia and nitrite frequently at first and promptly if behavior changes, equipment stops or food accumulates.
If either becomes detectable, investigate immediately. Appropriate actions can include removing decaying material, restoring circulation and changing water with correctly prepared replacement water. Avoid adding more livestock while the cause remains unresolved.
Base routine water changes on measured conditions, waste accumulation and the characteristics of replacement water. There is no single percentage that suits every freshwater shrimp tank.
When filter flow declines, clean the relevant sponge or media gently in removed aquarium water. Avoid replacing all established biological media during routine cleaning.
Develop your longer-term routine with stable water changes for shrimp tanks
Keep a brief record of feeding changes, test results, maintenance and unusual observations. Patterns are more useful than trying to diagnose every isolated behavior.
Common shrimp tank setup mistakes
Buying animals before choosing their conditions. Identify the shrimp and assess your water before committing to equipment.
Applying one setup to every freshwater shrimp. Revisit substrate, feeding, temperature and habitat when changing species.
Calling clear water “cycled.” Appearance cannot demonstrate waste-processing capacity.
Counting weeks instead of checking results. Readiness requires evidence, even after a bacteria product has been added.
Choosing substrate only for appearance. Check its effect on water chemistry and startup ammonia.
Leaving gaps around filter intakes. Inspect protection with future young shrimp in mind.
Feeding a small colony as though the tank were full. Make portions observable and adjust them to actual consumption.
Chasing isolated test numbers. Understand the source of a change and prepare a measured correction. Stability does not mean leaving a harmful condition untreated.
Choose your next step from the aquarium’s current condition
If you have not chosen the shrimp, start with identification and source-water testing. If the equipment is running, work through fishless cycling and habitat development. If the aquarium passes the readiness checks, prepare the introduction and monitoring routine.
A dependable shrimp tank setup follows that sequence. Add the animals when their aquarium demonstrates readiness, then use observation and testing to keep it suitable as the colony develops.